Make a Mini-Piñata for Kha b’Nissan
Date: March 29, 2017
As a tribute to the traditional twelve-day celebration of the Assyrian New Year, we’re sharing unique ways to honor Akitu no matter where you are in the world as we count down the days to Kha b’Nissan 6767.
It can be tough to get the little ones in the spirit of the new year. But sometimes, a simple, small activity can do the trick. Here’s an easy craft that is guaranteed to bring you smiles this Saturday morning.
MATERIALS:
- Toilet paper roll
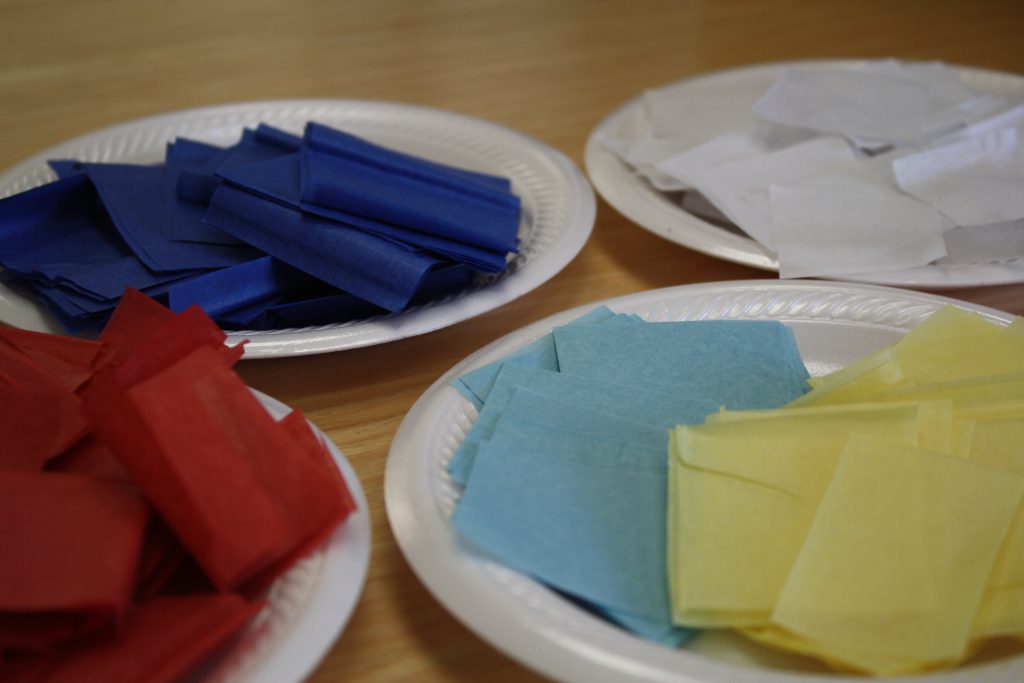
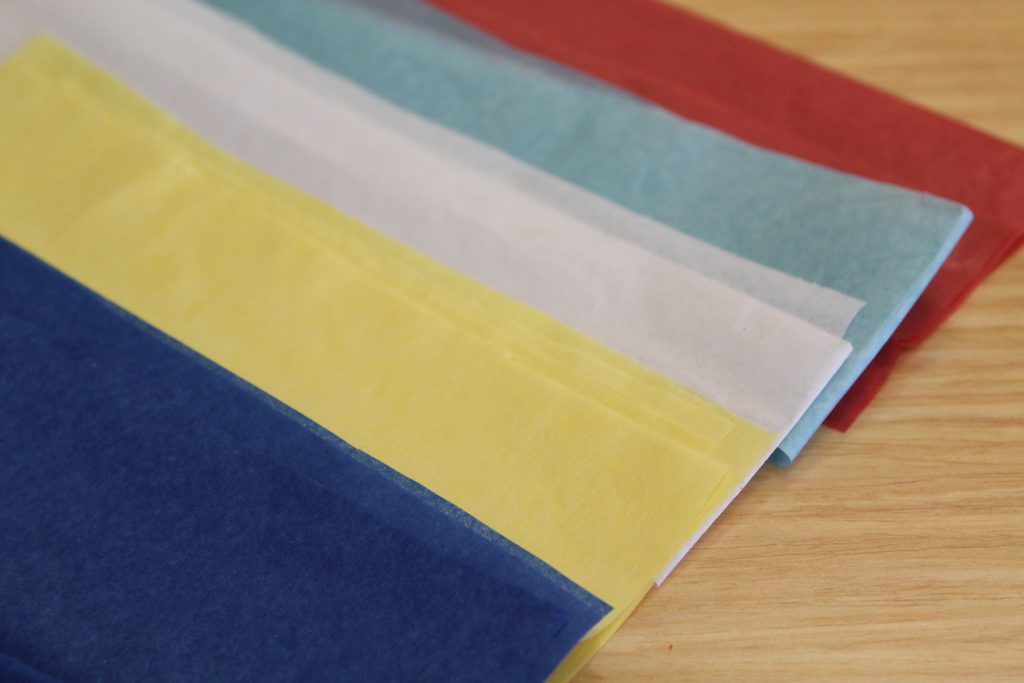
- Tissue paper (dark and light blues, white, red, yellow)
- Tape
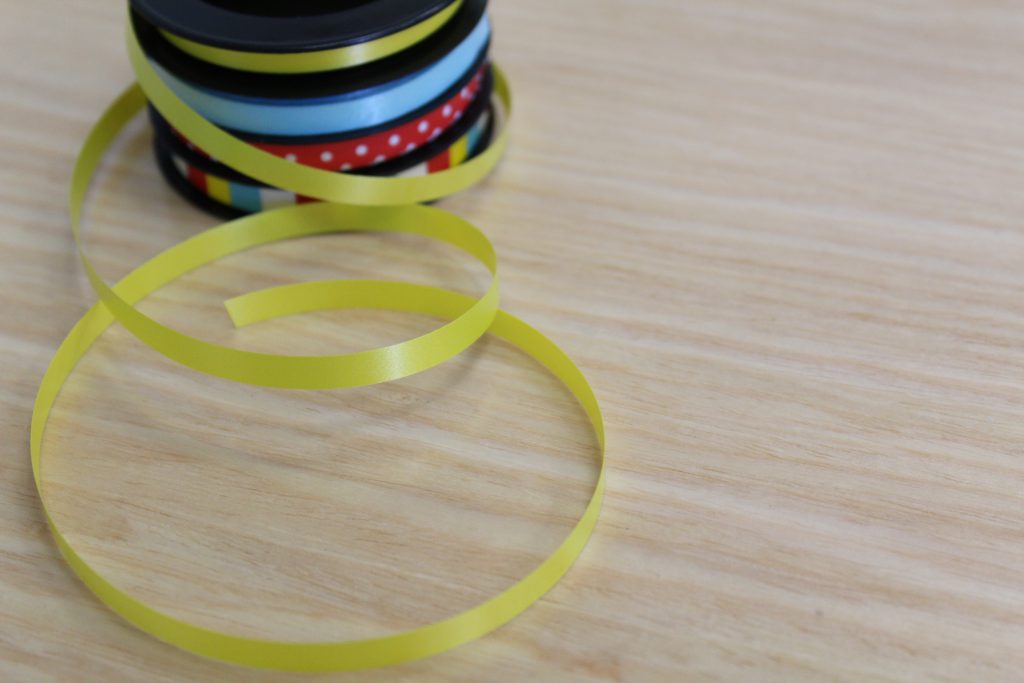
- Ribbon
- Scissors
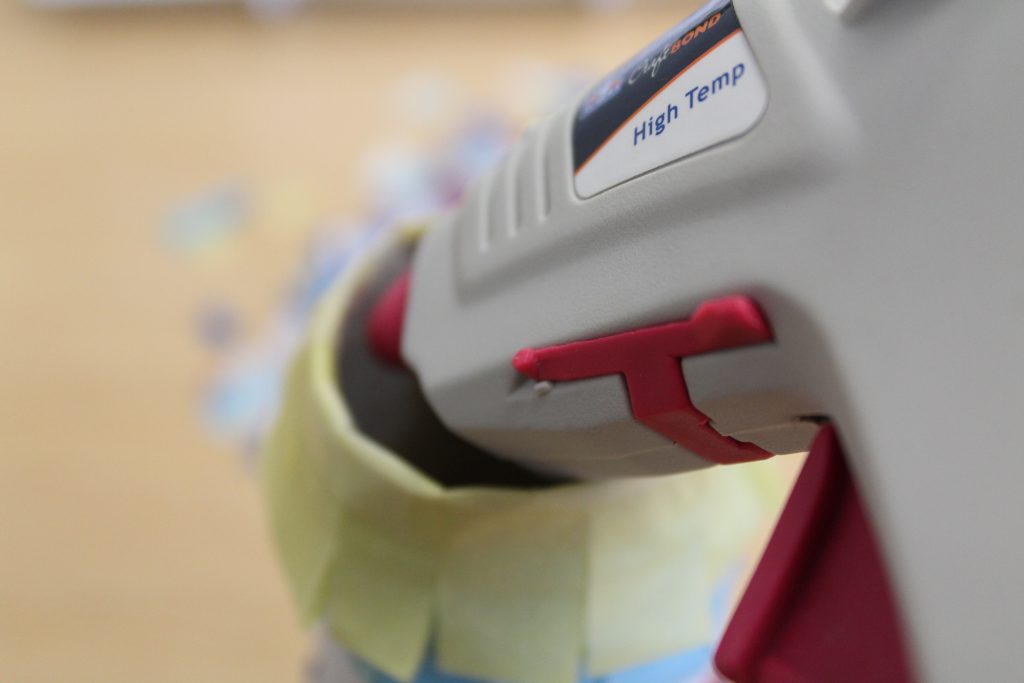
- Glue gun (optional)
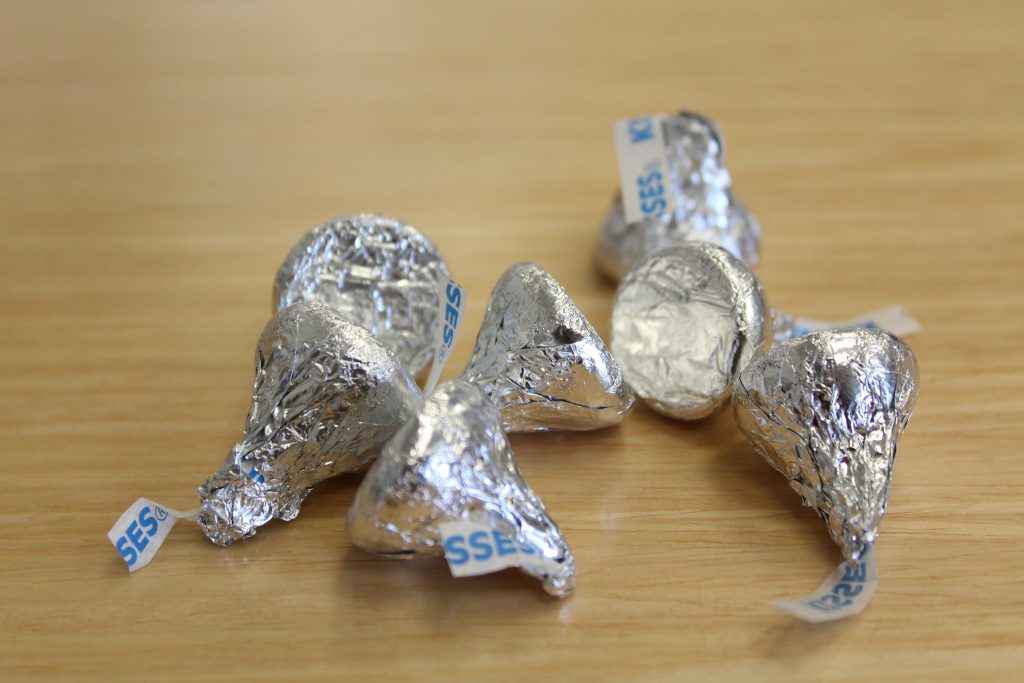
- Small candy
INSTRUCTIONS:
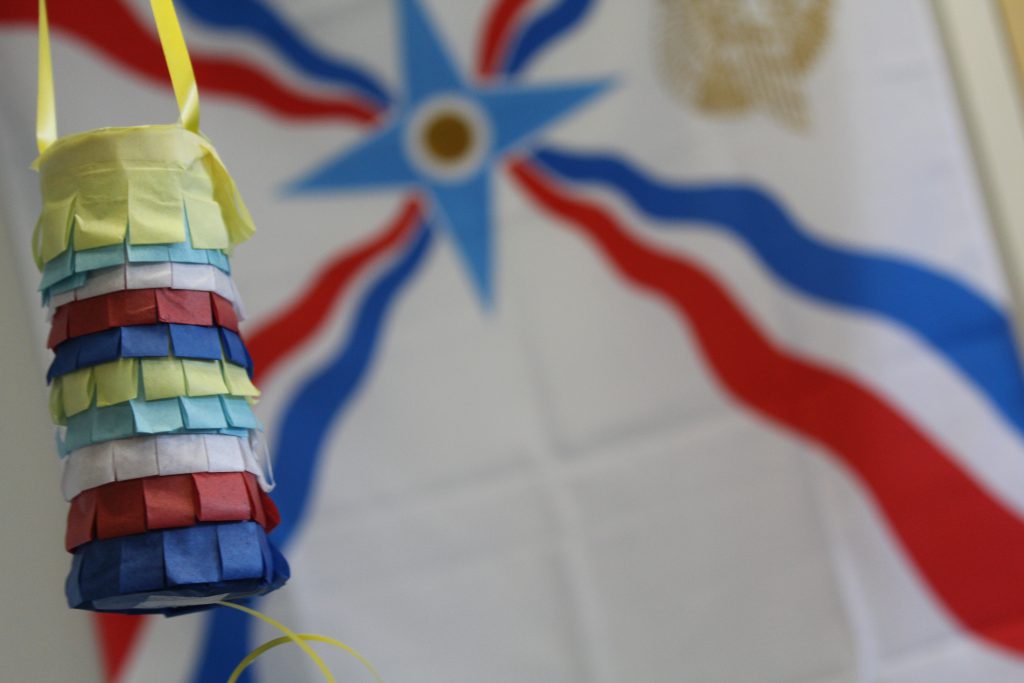
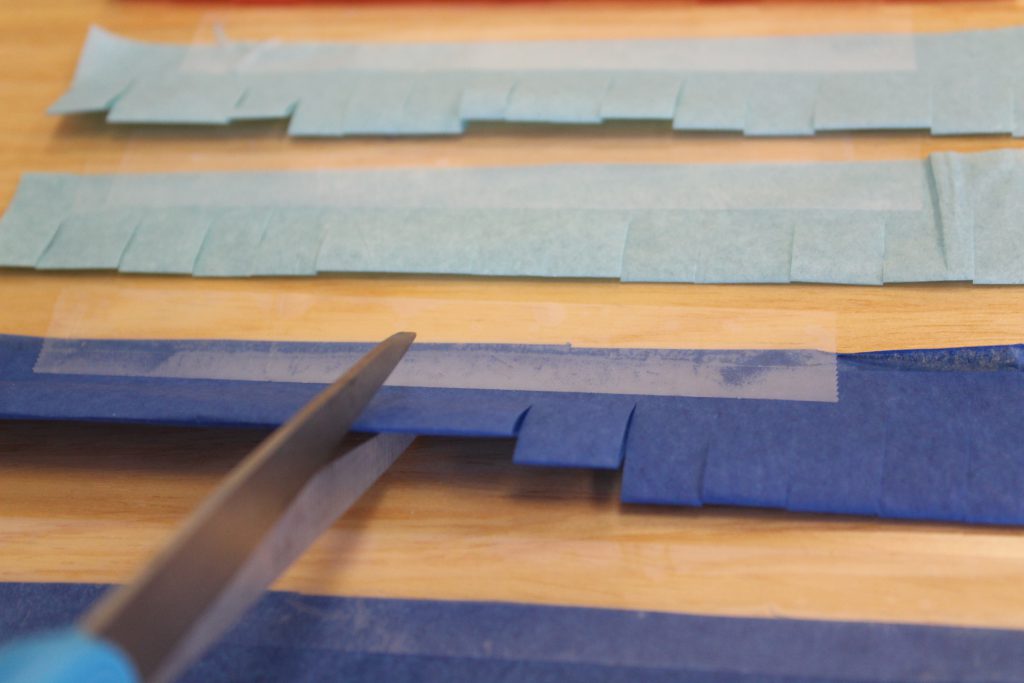
- Cut your tissue paper into strips. The strips should be about 6 inches long, and 2.5 inches wide. You should have two strips of each color.
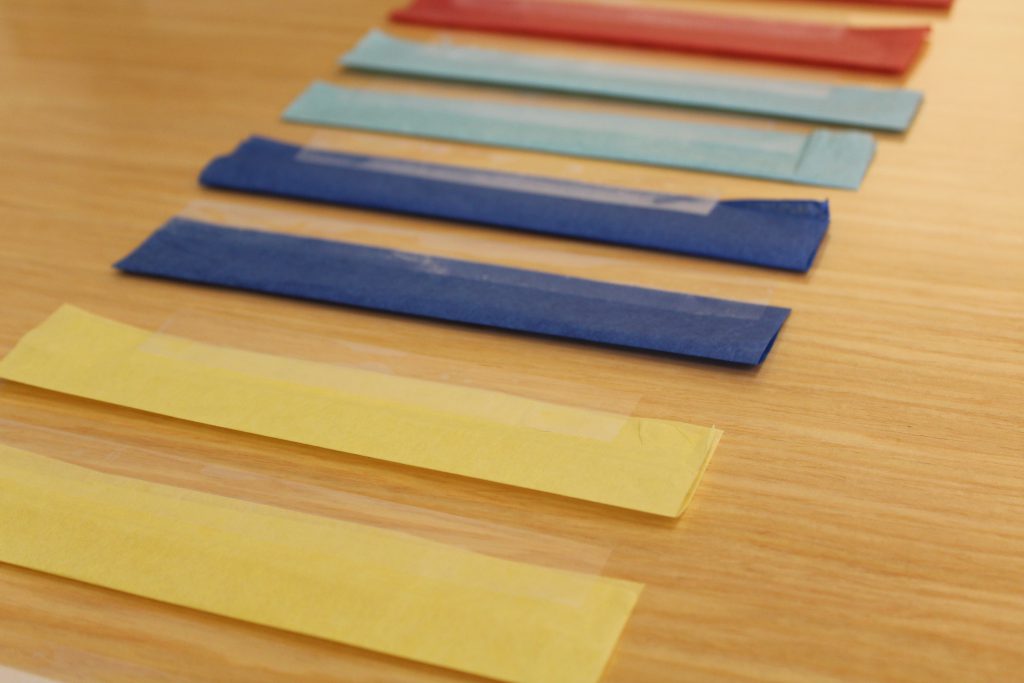
- Fold the strips in half “hot dog style.” Tape the strips down to your table so that the folded end is facing you.
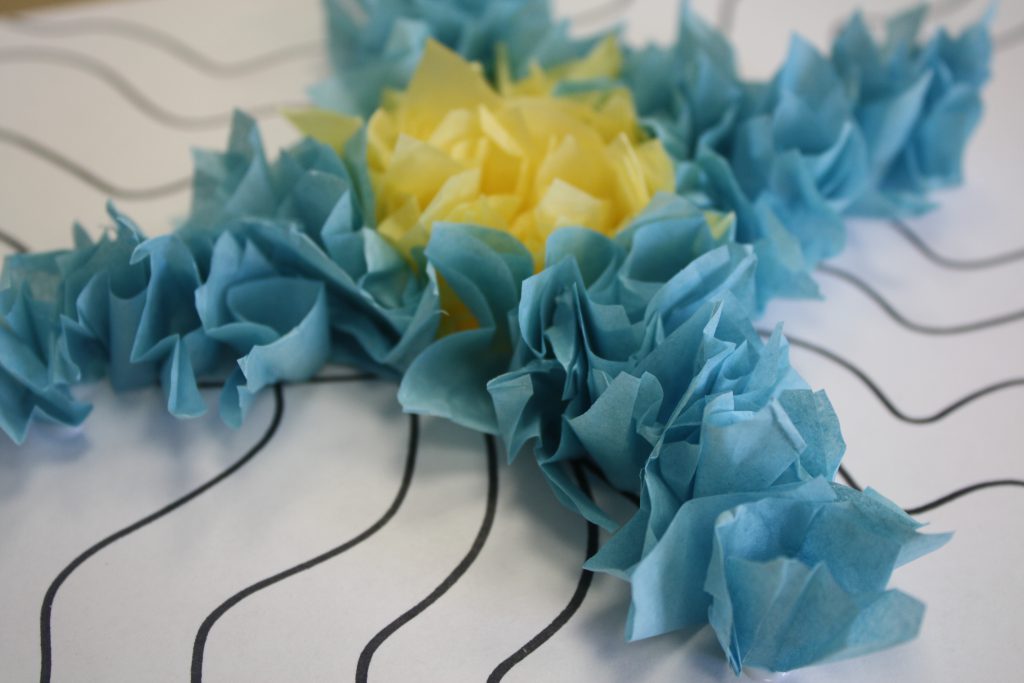
- Snip vertical lines along the tissue paper strip. We recommend snips be about a centimeter wide, but you can cut these as you like.
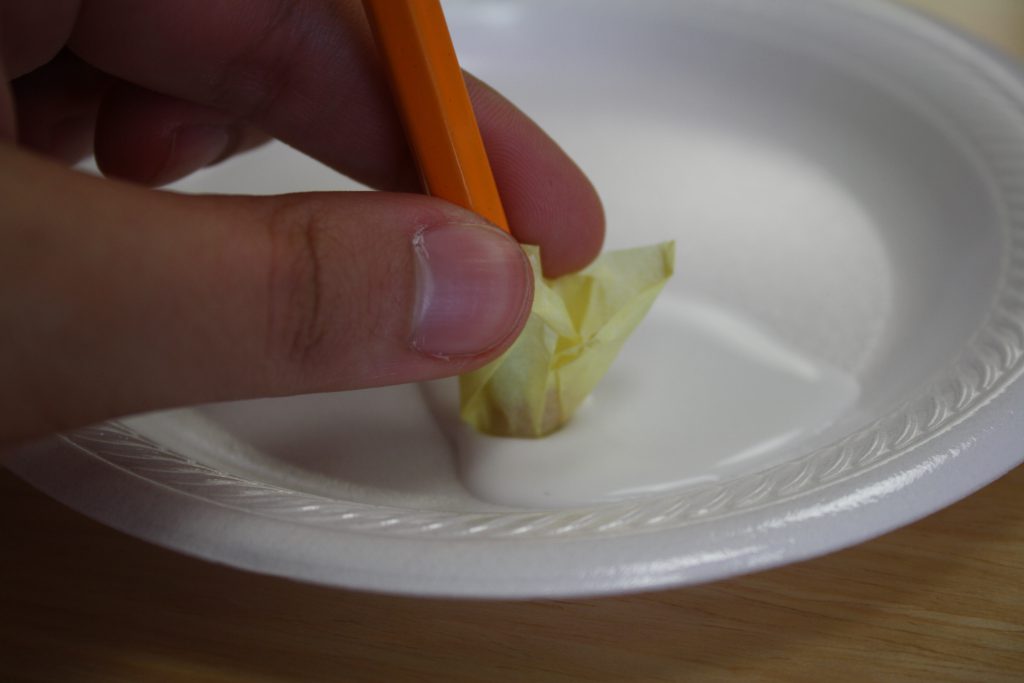
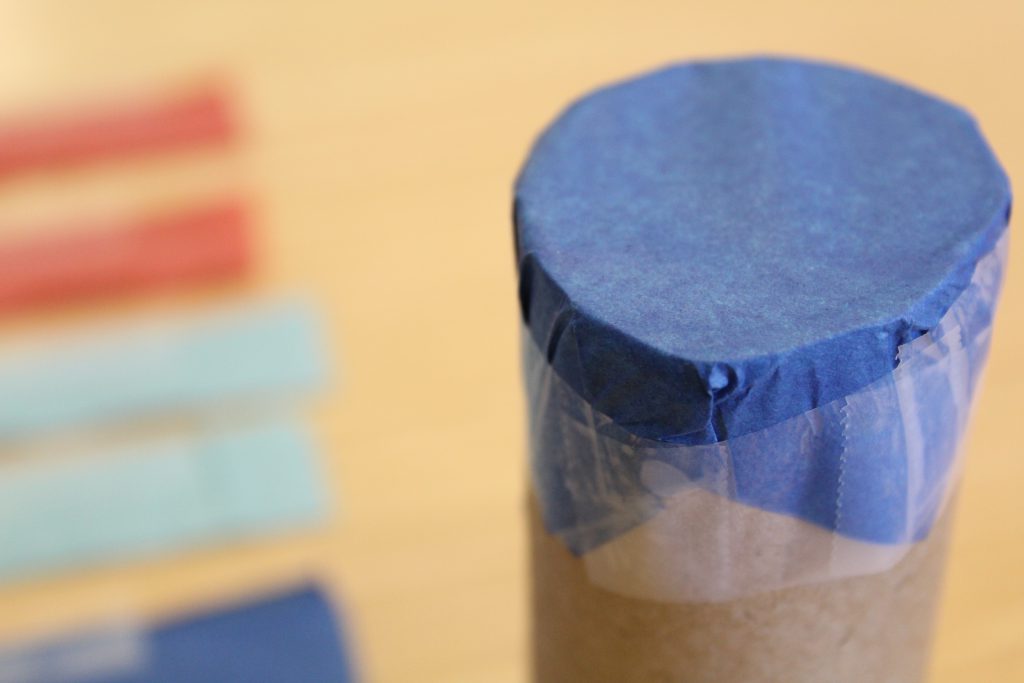
- Cut two square sheets of tissue paper. You will need one to cover each of the holes, so use the holes as a guide for size. Cover the bottom hole using one small square of tissue paper. Secure with tape. Don’t worry about what it looks like because it will be covered. Make sure you only use a single piece. Doubling up might seem like a good idea now, but it will be a problem later.
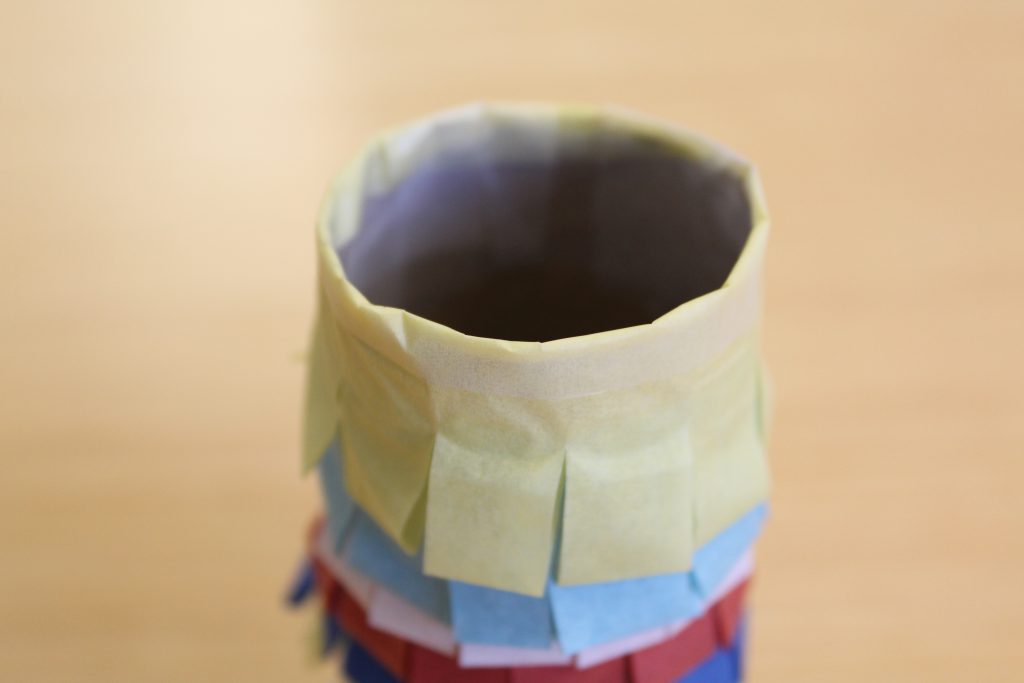
- Starting from the bottom, select a strip of tissue paper prepared in step 3 to wrap around the roll. We recommend using the same colored tissue paper as the piece you chose to cover the bottom hole. The tape should be used to position the strip.
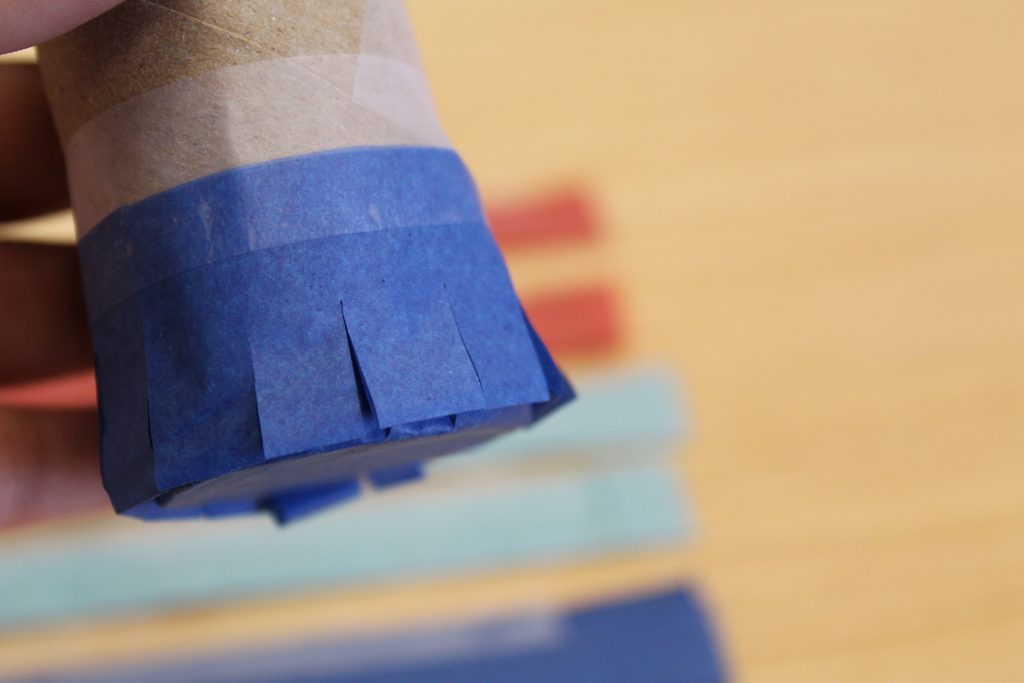
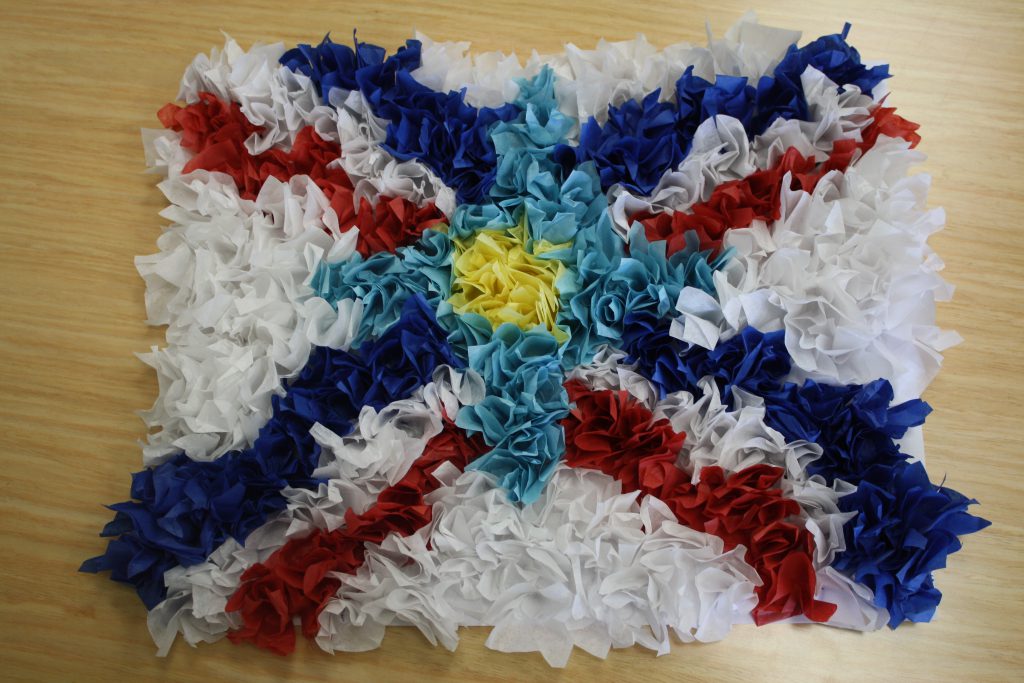
- Work your way up until the whole roll is covered, covering the top of each strip with the fringe of the next one.
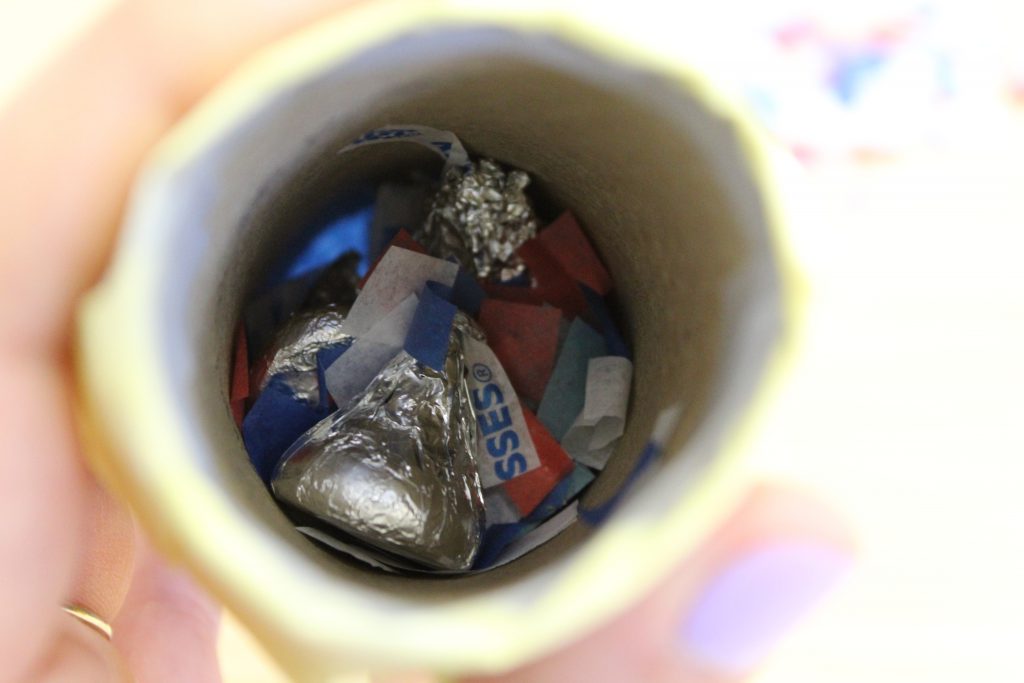
- Make confetti by cutting up extra strips of tissue paper into tiny bits.
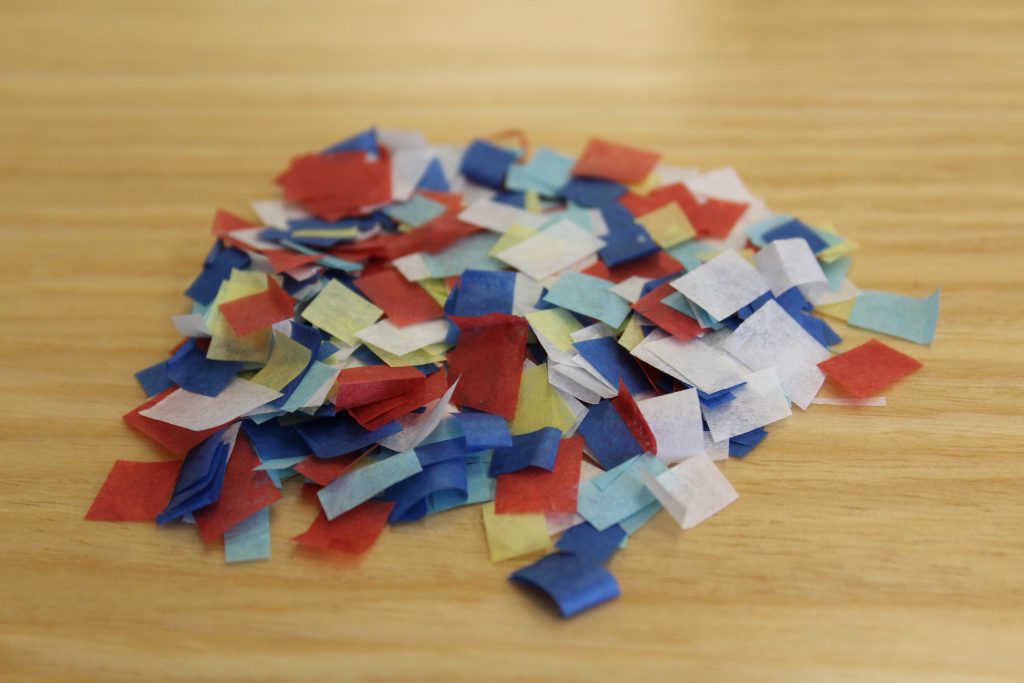
- Fill the paper roll with small pieces of candy and your homemade confetti. We used Hershey’s Kisses.
- Cut a piece of ribbon to serve as your handle.
- Use a glue gun to secure the handle. The two ends should be placed inside the circle directly across from one another.
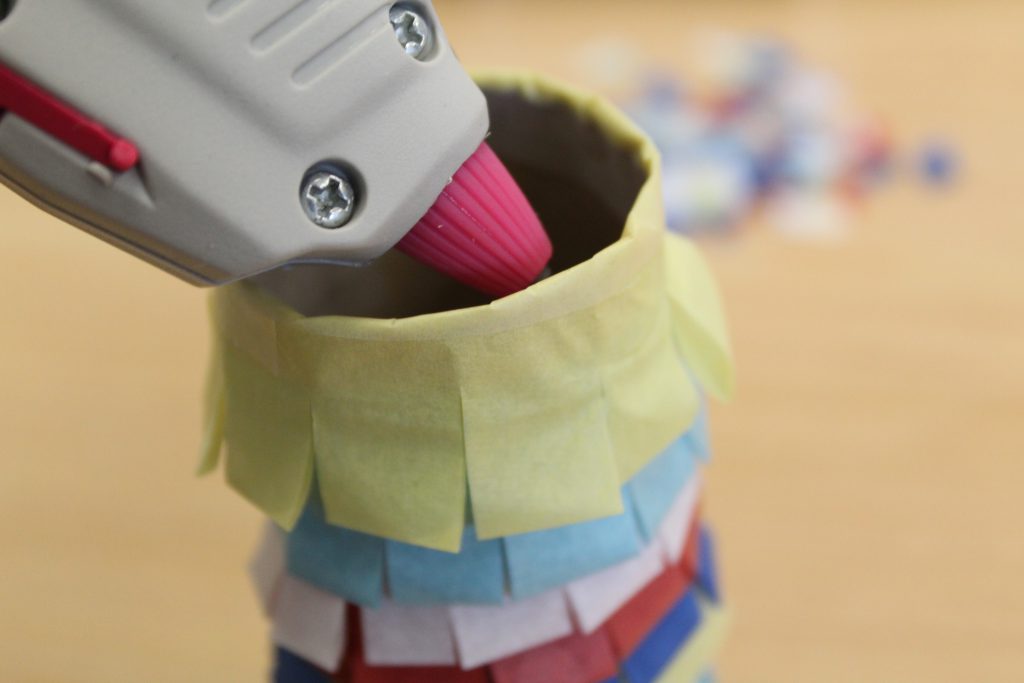
- Use the glue gun to trace along the top rim of the roll. Place the second sheet over the top and trim away the excess.
- Cut piece of ribbon several inches long and tape to the bottom so that it hangs.
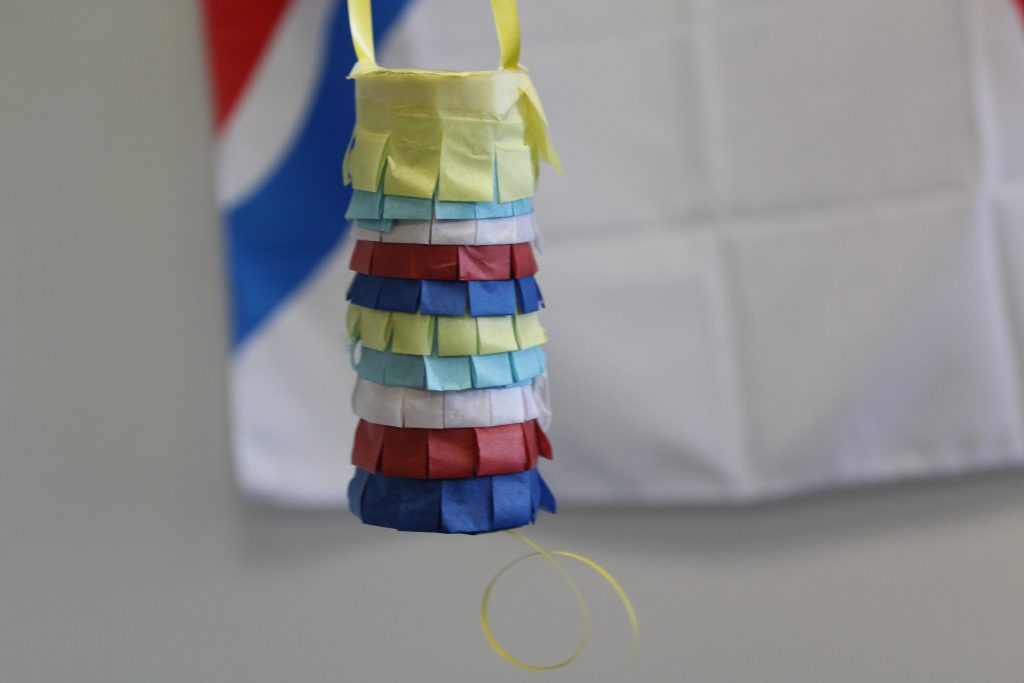
- When you pull the bottom string, it will tear open the bottom. Out will come the candy and confetti. Happy New Year!